

from:http://coolestguidesontheplanet.com/install-wordpress-easily-os-x-mavericks-10-9/
If you want to get WordPress 3.8 quickly installed on your OS X machine for development or just to learn the software you can install all the necessary components including Apache, PHP, MySQL, phpMyAdmin and WordPress in one foul swoop without launching the Terminal. This type of install works best if you don’t use Apple’s built-in web sharing software, are new to web development or just want to safely look under the hood.
Super fast and super easy from Bitnami that puts all the required software in one easy installation. This tutorial covers up to OS X Mavericks 10.9 and earlier.
Download The Software
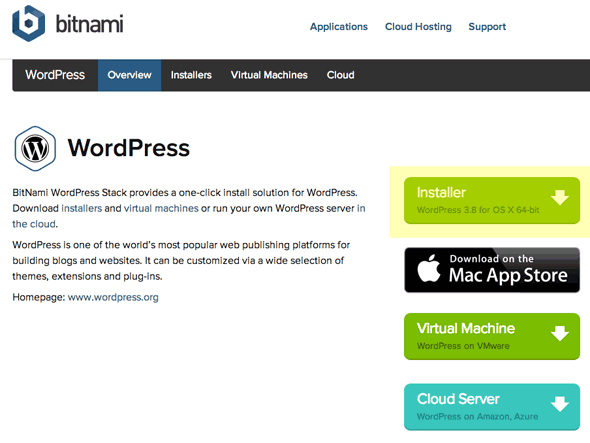 Get latest bundled installer here WordPress version 3.8 this will download the compressed zip to your download folder, decompress and leave the installer ‘bitnami-wordpress-3.8-0-osx-x86-installer.dmg’
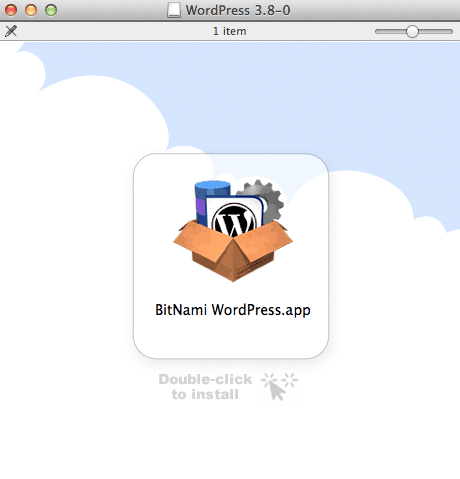 Once the installer has downloaded just double click the dmg file and run the installer.
Install The Software
 Run the installer
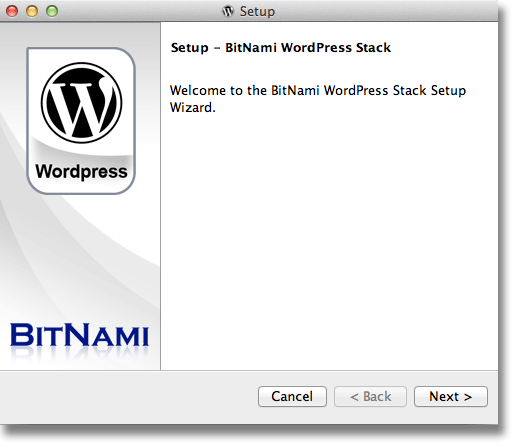
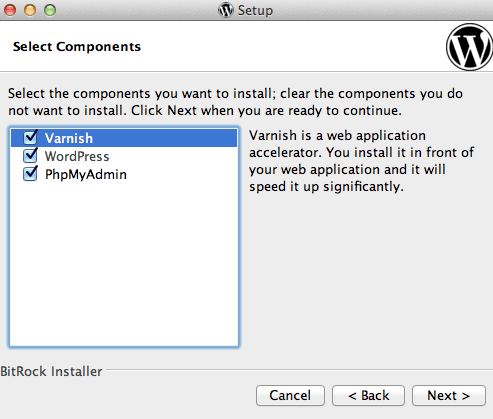 Make sure all packages are checked
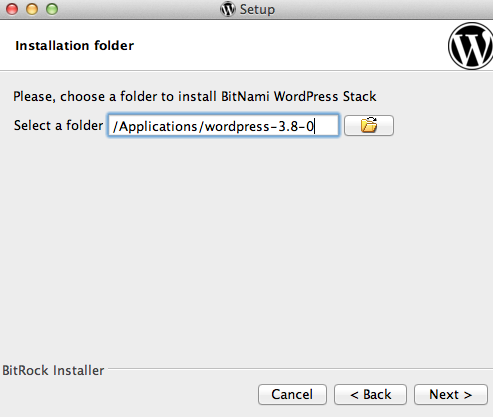 Leave the default location in the Applications folder
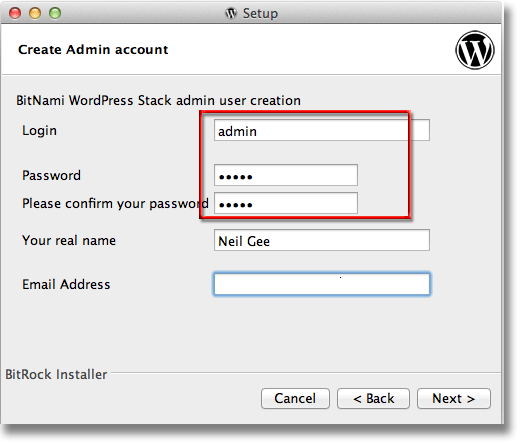 Set a login and password – this will set username and password for WordPress admin account and only password for phpMyAdmin (the username is root)
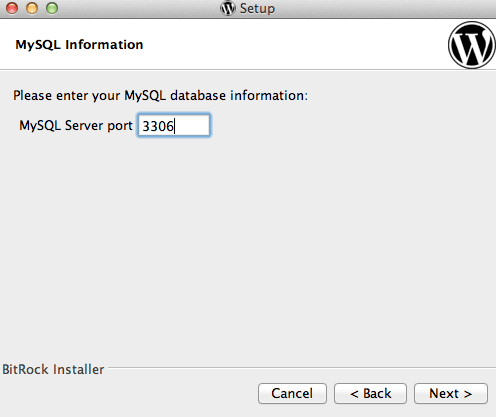 Leave any ports set to defaults – you may have to adjust the number if you have the service already running to another non-standard port number
 Name your site
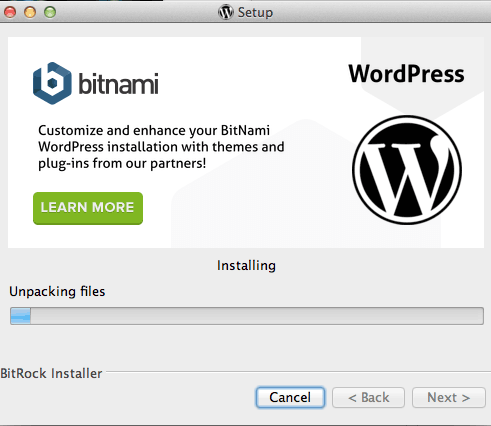 Install the files
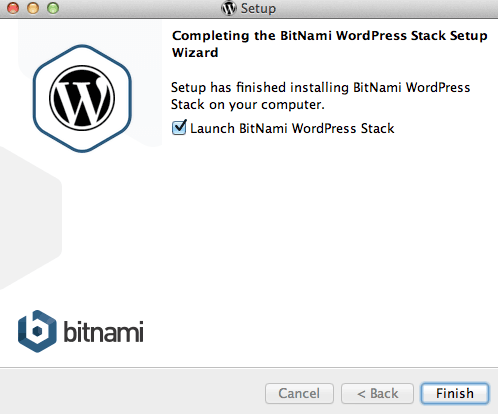 Launch the WordPress application
Where Stuff Is
After you launch the application your browser will launch and you will be brought to the home location

The default home URL is http://127.0.0.1:8080
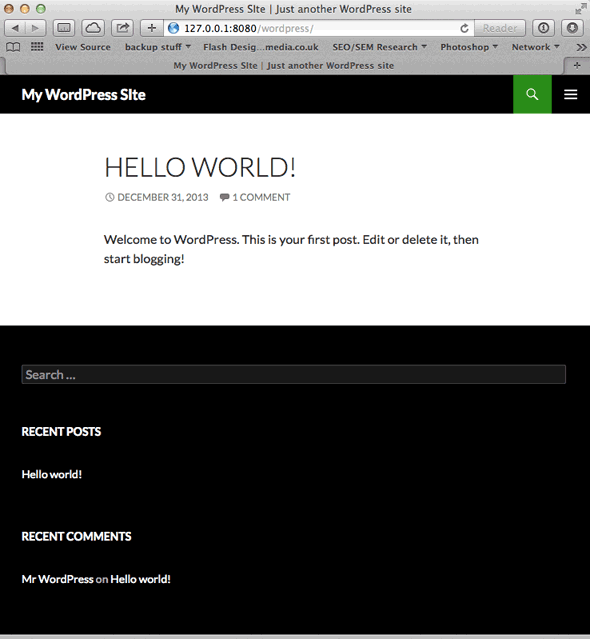 The default home for your WordPress is http://127.0.0.1:8080/wordpress
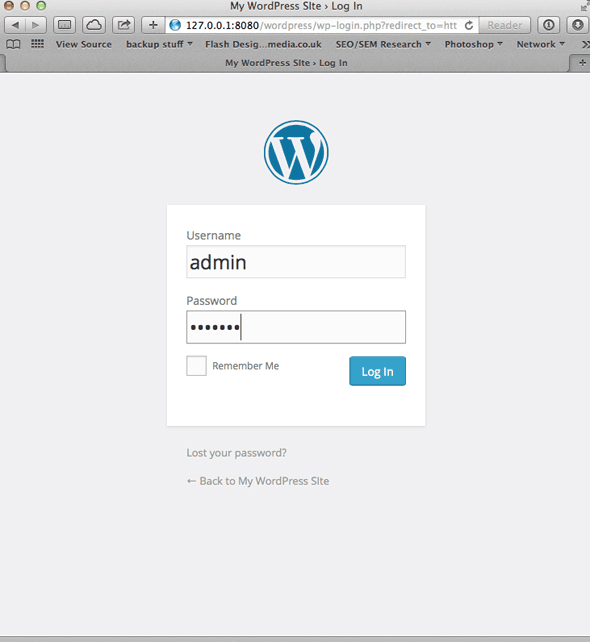 The default home for your WordPress Login is http://127.0.0.1:8080/wordpress/wp-admin or http://127.0.0.1:8080/wordpress/wp-login.php — the user is ‘admin’ and the password is what you set earlier
 The WordPress installation comes with a few plugins pre-installed to cover SEO, Spam, Contact Forms and Google Analytics – that’s it from here you get into your WordPress project
The default home for your phpMyAdmin is http://127.0.0.1:8080/phpmyadmin – the user is ‘root’ and the password is what you set earlier.
You don’t need to go here unless you want to – the database that WordPress needs has already been created and is in use, it is named ‘bitnami_wordpress’

On login to phpmyadmin you have access to the backend MySQL databases

All the files and software needed to make the installation are all filed in/Applications/wordpress-3.8-0 with the most important being ’manager-osx’ if something isn’t working check here to see if your websharing and database tools are running, which are Apache and MySQL – start the servers if required.
To Remove the Bitnami Stack and WordPress Installation
Run the /Applications/wordpress-3.8-0/uninstall application
Thats it nice and easy WordPress installation.